By default, when you upload an image into an Image block, the image will automatically resize to fill the space you are uploading it to. Image blocks are responsive.
When you insert an image inside a Text block, the image will remain the exact size that is uploaded. Images in text blocks are not responsive. You may need to adjust the width and height.
Add an image to an Image block
By default, the editor sets a full-width class on all Image blocks. Any images uploaded into image blocks will be responsive as long as full-width is set on the image. Removing full-width makes the image the true width and non-responsive in mobile devices.
1. Click an image block on the right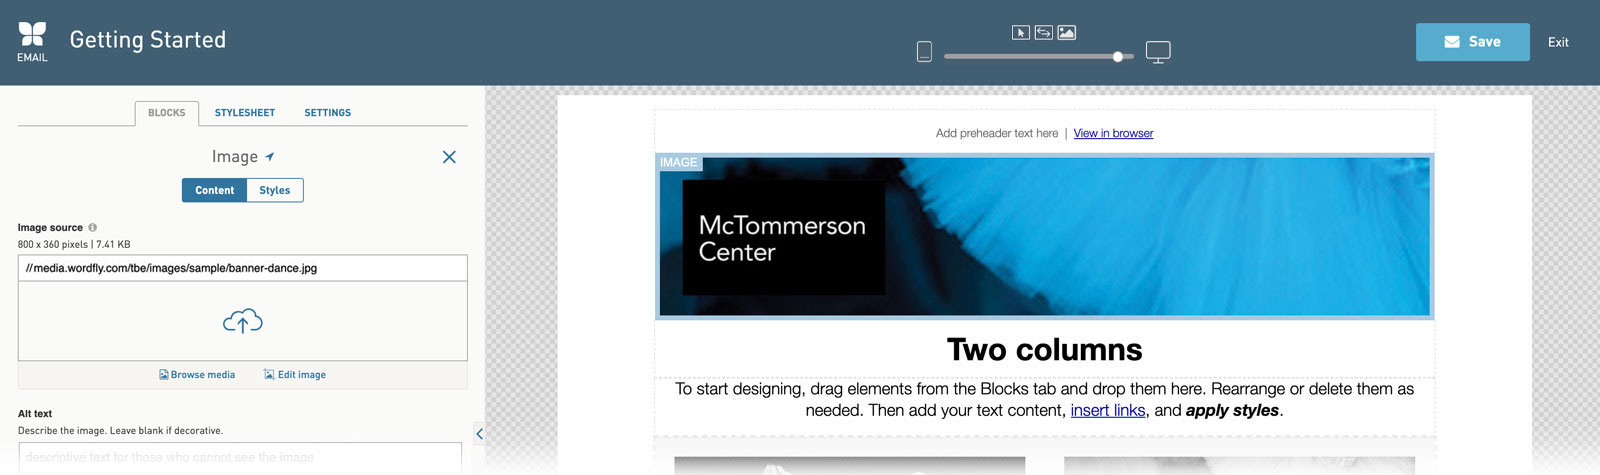
2. Upload an image into your image block
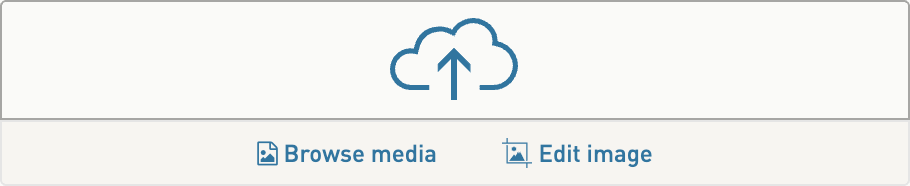
Select the upload arrow to browse to a file for upload or drag-and-drop your file on top of the upload arrow.
3. (Optional) Click Edit Image to optimize, crop, and make other edits to your image
When you’re done editing your image, select Save and Close to keep the changes made. Select the ‘x’ in the upper right corner to exit the tool without saving changes.
Editing images in Image Editor
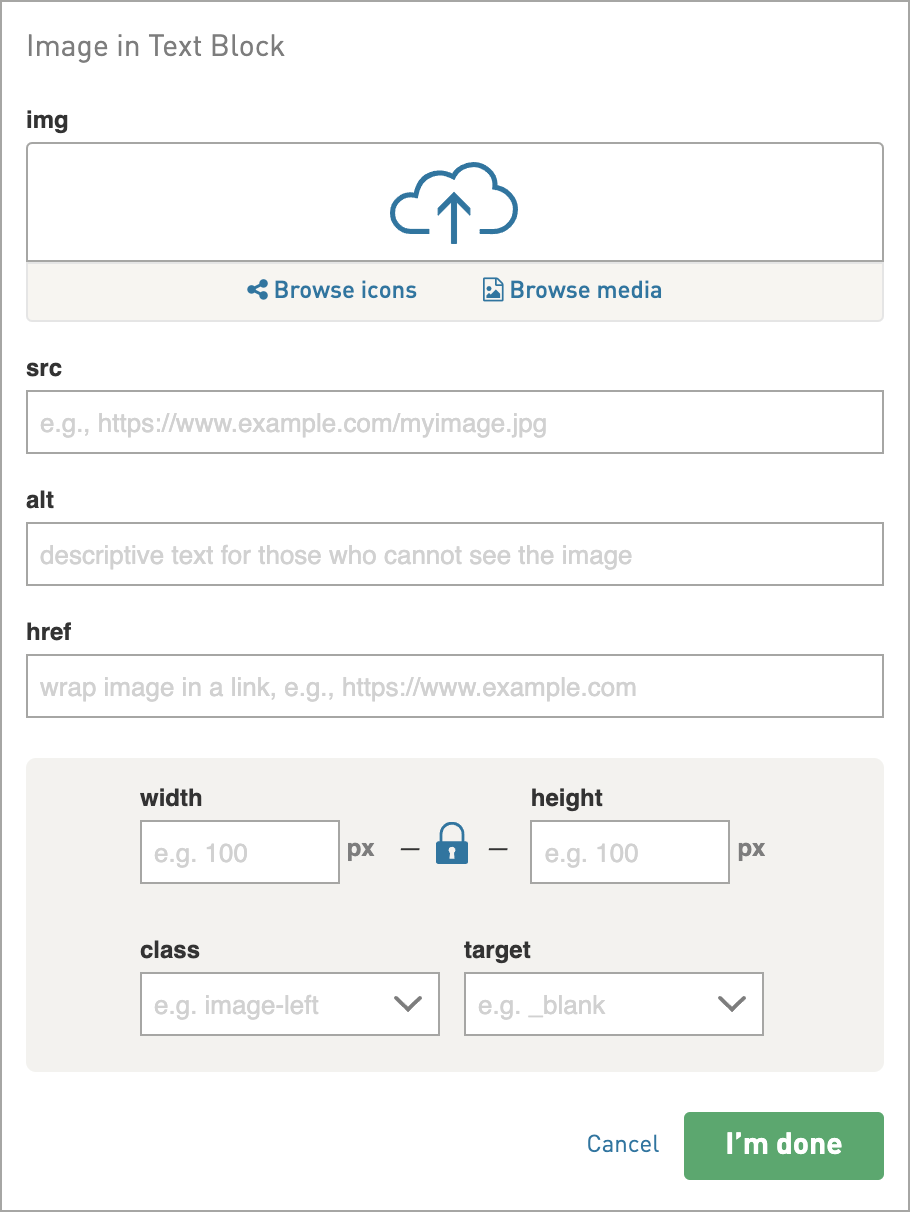
Insert an image into a Text block
You can also upload images into Text blocks. This is a great option if you want the image to be the exact size that it is. Images uploaded into text blocks are not responsive.
1. Click a Text block on the right
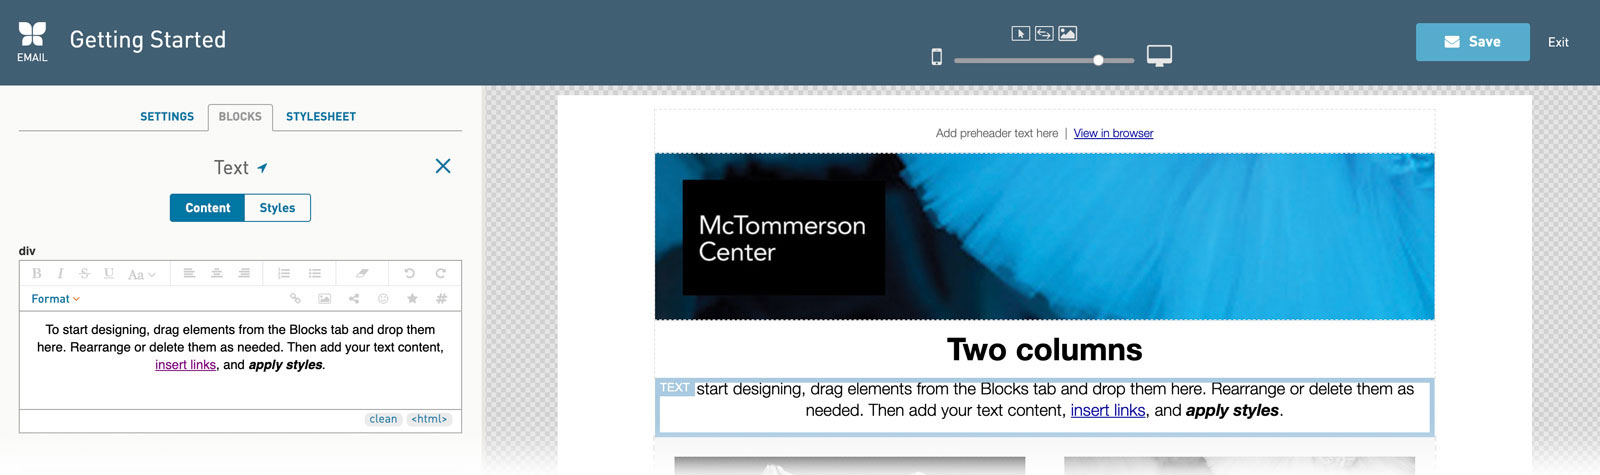
2. Place your cursor in the text area where you would like the image to go
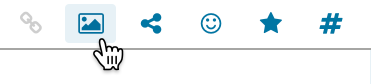
3. Click on the Add Image icon
4. Upload your image and click I’m Done
- Drop your image onto the upload icon —or— Paste the image URL in the Image Source field —or— Browse to select an image
- Optional. Adjust the width and height of your image. This is especially useful if uploading a large image into the text block (i.e., retina images).
- Optional. Adjust the placement of your image. In the class field, enter 'image-right' or 'image-left' to place the image to the right or the left of the text in the text area. This creates an image-text-wrap effect in the text block.
Position images in text or image blocks
To set the maximum width of an image
Setting a max width can help you control how wide the image can ever be on desktop or mobile. This technique works well in Text blocks with one image or in Image blocks with an image that you would like to be smaller than the block’s full width, such as a company logo.
For Image blocks, use the style shortcut to set the max width and horizontal alignment.
For images in Text blocks, go to Styles > Block Container > Widths to set the max width field (e.g., 130px). The block will still be responsive when you set max width (whereas, setting a rigid width will not be responsive). When you have max width set on an image, you can also control where the image is positioned in the container by setting horizontal alignment.
To adjust spacing, go to Styles > Block Container
All blocks and containers in the editor are rectangular boxes. To position images, spacing can be applied inside and outside of each “box” by entering numeric values into the fields. The pixel value (px) has the most consistent support.
To add space outside the box, use the Margin fields
To add space inside the box, use the Padding fields
Center an image
1. Click the Styles toggle for the block you are in
2. Click on the Block Container for the block
3. Set a Max Width for the block
4. Click the center Horizontal Alignment icon to set the right and left margins to `auto`
Vertically align images and text
Click on Vertical Align in the Image and Alt Text style. This is useful for situations where you have images of different heights placed inside text blocks.
Add captions to images
You can add a caption to your image by clicking on the image on the preview panel, then adding some text in the caption field in the editor panel.

Changing the caption styles
Edit the p.caption style by going to your image block Styles toggle or the global Stylesheet. You can change some styles for your caption in the image block styles, such as font-size, font-family, line height, font color etc. Removing italics from the caption requires a few more steps.
To adjust caption styles globally
1. Go to the Stylesheet
2. Under Single Blocks, select Image
3. Select Caption element
4. Edit your Caption styles here to edit across the design at a global level
To adjust the caption style for an individual image block
1. Select the image block from the preview panel
2. Select the Styles toggle from the edit content panel
3. Select Caption element
4. Edit your Caption styles here to edit for this image block
What happens to images edited inside the editor?
When you make edits to images inside the editor, the original file that was uploaded into the design will be updated with the edits. To go back to the original image, just upload the same image again with the same name. Save your update. Refresh the page if the image does not update right away.
Uploaded images are saved in a unique Media folder for /emails/ or /pages/, depending on the design you are building. To find these images, select the email folder or pages folder in Media and browse to the folder that corresponds to your email or page name. To avoid uploading files into the email and pages media folders, you can copy media links from specific folders of your choice and use these links for your media in emails or pages.