The WordFly media library hosts files used in email and page designs. Files include images, downloadable files such as pdfs, and calendar files. Any files uploaded to the media library can be linked to in your emails and pages. In this article we will cover how to upload, organize, and delete files in the media library.
Basics
Files
Supported file types
|
|
Smaller files are best. Keep in mind, large files will take longer for recipients to download.
When uploading, WordFly will automatically update your file or folder name in the following ways…
- Uppercase letters will be converted to lowercase
- Underscores are converted to dashes
- Special characters are either replaced with safe equivalents or removed entirely
You can link directly to any files uploaded in the media library. Click on the link icon to copy the URL.
Folders
There are a few folders that exist by default and cannot be deleted:
| /emails/ folder | Contains a unique subfolder for each email you build and holds all the media uploaded directly into the email. |
| /pages/ folder | Contains a unique subfolder for each page design (RSVP, Survey, and Landing page) and holds both the code and images for pages. |
| /editor/ folder | Contains a unique subfolder for each custom starter you create for your email designs. |
| /your-files/ folder | A unique folder for each organization to use as needed to hold files.
|
Create new media folders by clicking on the Add Folder icon next to the home icon.
Organizing
You can move folders and files to other folders or the home folder by ticking the checkbox next to each file, then selecting Move from the Actions menu. This will open a popup where you can browse to the destination folder.
You can also drag and drop files into other folders.
When moving or deleting files, proceed with caution. Any moved media that is not re-linked with the updated file path will no longer display in a live email or page. Any deleted media will no longer display in a live email or page.
Best practices for organizing media
When organizing your media, we recommend creating unique folders for assets that will be reusable throughout many email and page designs. Copy the link to the media file and insert the link into the src field of your email or page design. This method allows you to overwrite an image in the folder if needed. For example, if your logo changes, you can upload a new logo into the logos folder which will overwrite the image wherever it has been linked across designs.
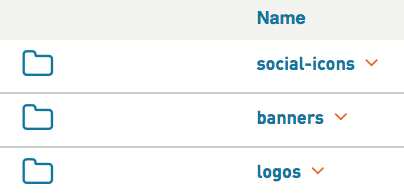
Media folder examples:
- Social icons uploaded to a social-icons folder
- Logos uploaded to a logos folder
- Banners uploaded to a banners folder
Upload images and files
Upload any of these file types to the Media library: gif, png, jpg, jpeg, pdf, and ics (calendar reminders). The maximum file size that can be uploaded is 2MB.
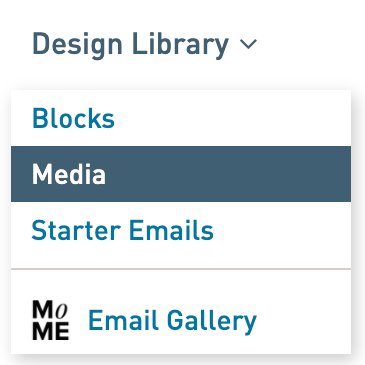
Step 1. Go to Design Library > Media
Step 2. Select the upload arrow to browse to a file for upload or drag and drop your file on top of the upload arrow

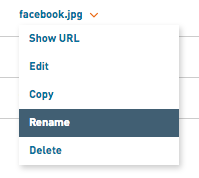
Step 3. Rename a file name by clicking on the title and selecting Rename
Organize files
Creating new folders in your Media library will help organize images and other files. To create new image folders, follow these steps:
Step 1. Click the Add Folder icon next to the home icon
![]()
Step 2. Type in the name of your folder and click the plus button to the right or hit enter to create the folder
![]()
Step 3. Files can be moved into folders in three ways:
- Tick the checkbox next to the file you want to move, select Move from the Actions menu, then select the destination folder
- Drag and drop files you have already uploaded into folders.
- Or, open the folder by clicking the folder and selecting ‘open’ and then proceed to drag and drop images on top of the upload arrow or browse to files by clicking on the upload arrow.
Step 4. Create subfolders for any folder in two ways:
- Drag and drop an existing folder into another folder. This makes the file you dropped into a folder the subfolder.
- Or, in an existing folder, select the Add Folder icon next to the home icon to type in a new folder name. Click on the green plus button or hit enter to create the folder. This folder now resides inside of the existing folder.
- Note: Subfolders inside folders can be moved to the main media library area by dragging and dropping the folder on top of the home icon.
Delete files

To delete one item in the Media library
1. Click the name of a folder or file to see the options menu
2. Click Delete to remove the file
3. Click "Yes" to permanently delete the file
To delete multiple items in the Media library
1. Tick the box next to the items you want to delete
2. Click Delete from the Actions menu in the upper-right
3. Click "Yes" to permanently delete the files