Automated emails allow you to immediately communicate with your patrons in response to actions and data in Centaman.
Set up a Centaman-automated campaign in WordFly
In WordFly you will create a new triggered campaign to start building your automated campaign. You'll add your campaign settings, assign an email design, and select a Centaman list. On the last step of the process, you’ll tell WordFly how often and how many times to send to a subscriber.
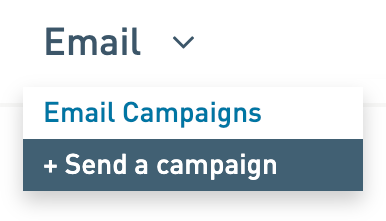
1. Go to Email > Create a campaign
2. Under Settings, from the type dropdown, select type Triggered

3. On the Email step, select the email design you would like to use or create a new one

Add any personalization to your email design with data fields and conditions. Learn more about data fields by reviewing this article.
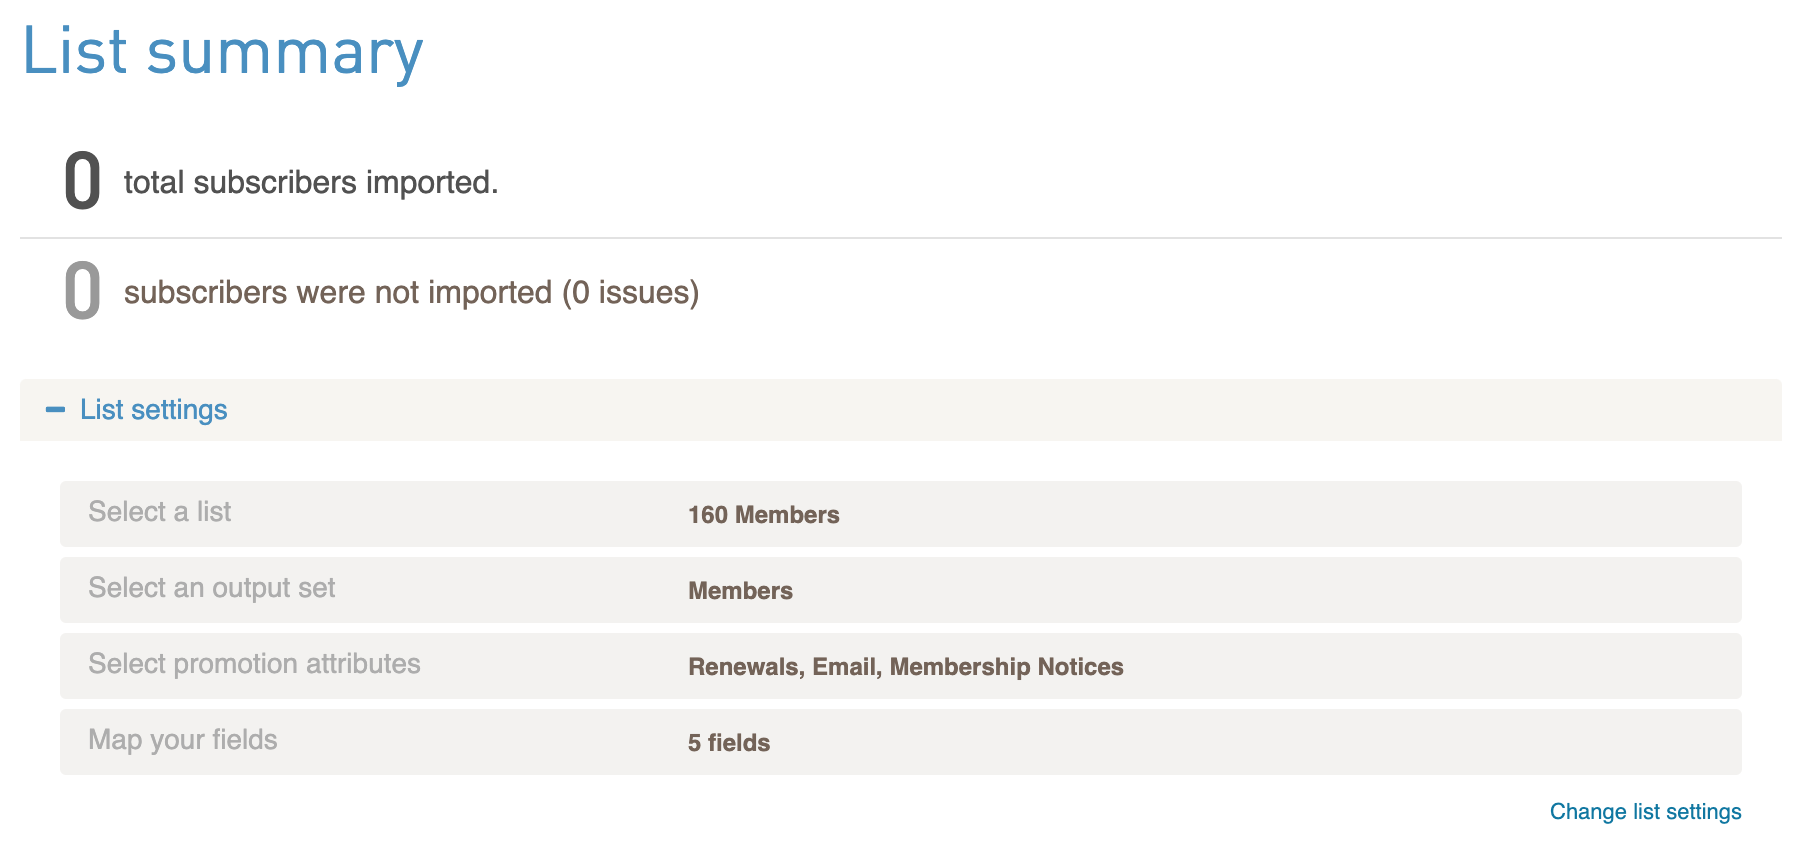
4. On the Recipients step, assign the list you will be using to the campaign

What to expect when assigning your List Manager list:
- Note that you won’t be importing any subscribers yet. Automated campaigns are designed to import subscribers at the time of sending. You will only be assigning the list that WordFly will use each time the campaign is scheduled to send.
- It is expected that the imported number will initially be 0 subscribers since the campaign hasn't imported and sent to any addresses yet.
- (Optional) Under the sync options step, select an appeal and channel.
- Under the Map your fields step, be sure to map any data fields from your list to WordFly data fields. This step is required for personalization to work in your email design. For example, if you want performance date as a data field in your email, you need to map performance date data fields during the map your fields step of the list assignment process.
- If you need to re-assign your list, select Change list settings.
5. Test your automated campaign

Under the Testing tab, use Subscriber Preview to test a subset of your subscribers and to make sure you have all the correct personalized data pulling into the email. Learn more

6. On the Activation step, schedule your automated campaign for sending

Activation options include:
-
Mailing frequency
This is where you tell WordFly how often to send the campaign. One time only; Once per month; Weekly; Daily; Hourly. -
Start date and time
When should the campaign start sending? -
End date and time
When should the campaign stop sending? At a specific time up to one year in the future -
Send to a subscriber
How often should the subscriber receive the email? One time only; Every time they meet the criteria; No more than once per week; No more than once per month. -
Select format
This is the format of your email. Should it send as text, HTML or Multipart-MIME?
Learn more about automated campaign scheduling.
7. Click "Activate" to schedule your automated campaign.

Once you click Activate your automated campaign will be scheduled to send. The campaign will only send to subscribers that meet the list criteria at the time of sending. Once the campaign sends it will be rescheduled to send again at the same time at the frequency you set it to send each time.
Testing automated campaign lists
You can test your automated campaigns lists to see if your list criteria in Centaman is correctly to pulling in the right subscribers. These pointers should help you iron out any kinks before activating the automated campaign.
- If you're primarily concerned with the list that gets generated then you can test your list in Centaman to confirm that the correct subscribers are imported into the list. Start with some basic criteria. Preview the list in Centaman and review the results.
- You can test who will be included using the Testing tab > Subscriber Preview.
- If you're going to be sending membership reminders you might also setup demo memberships and then confirm that your list pulls the correct subscribers.
Test automated campaign personalization
Test personalization in your automated campaign under the Testing tab > Subscriber Preview. Before you start preview testing, make sure you have an email and subscriber list assigned to the campaign.
What to expect when testing your automated campaign with subscriber preview:
- Your list will be run in Centaman.
- The list is not imported. The data pulled in is only used for on-screen previewing. No subscribers will be imported into the list.
- The preview only displays the first 250 subscribers from the list. Even after the list starts sending, the same subscribers will appear here. Use the search bar to find other subscribers that meet the list criteria. Tip: Search for @ to pull back all subscribers that meet the list criteria.
- The data is static once imported for preview. To pull updated data (for example, if your output set is updated or you re-map your list data fields) you must re-import for preview to pull the new data.
Follow these instructions to test your automated campaign personalization:
1. Go to your in progress automated campaign and click on the Testing tab.
2. Click on Subscriber Preview.
3. Click Add Subscribers.

4. Select Import Subscribers for Preview.

Troubleshooting automated campaign issues
If your automated campaign didn't send when it was scheduled there are a few things you can check to start troubleshooting.
- Check to see if the list was generated in Centaman and if it contains any subscribers. If the list ran but there were no subscribers that met the criteria that might be why the campaign never sent but remains scheduled to send.
- Check the view used by this Centaman list. If the view doesn't have any fields defined then the automated campaign will still run every day but will not import.
- Check the Recipients tab to view the Subscriber Import Issues > Data Errors. Are there any data errors that point to integration or data mapping issues?
- Is the list still available to WordFly in Centaman?
- If the issues still continues, email us to get help.
Stop an automated campaign
Go to the automated campaign Activation tab to stop or pause it in WordFly.
When the automated campaign is paused:
- Emails will not send for the campaign.
- You can click on the Recipients step and reassign your list by clicking Change list settings.
- You can click on the Email step and assign a new email by clicking start over next to the email name.
- You can click on the Settings step and update the subject line and other options.
- To reactivate the automated campaign go back to the Activation tab and update your Start Date and Time settings then click Activate to resume sending. Note that the time setting will adjust by 5 minutes to set the time in the future, but this can be adjusted.
Follow these steps to pause/stop your automated campaign:
1. Go to your automated campaign and click on the Activation tab
2. Scroll down to the end of the page and click Pause/Edit

FAQ
Why are there 0 subscribers after assigning my dynamic List Manager list?
It is expected to have 0 subscribers when you initially assign your list to your automated campaign. This step is a little different from a Standard Campaign in that you won’t be importing any subscribers yet. Automated campaigns are designed to import subscribers at the time of sending. For these emails you will only be assigning the list that WordFly will use each time the Campaign is scheduled to send.
Can I update the list assigned to my campaign?
Yes, you can go to the Recipients tab of the campaign to update the list assigned anytime, even when the campaign is running (not paused). Go to the Recipients tab and select Change list settings, then reassign your list. You must select Save/Continue after making the list assignment updates.
How can I update my email design when the automated campaign is running?
You can edit your email design in an activated automated campaign anytime by going to Emails > Email Templates. Make your edits and save your email. WordFly will always use the latest version of your email without having to pause the campaign.
How can I check the list import and sending history when the automated campaign is running?
- You can see your sending history anytime under the Activation tab > Sending history.
- You can see your next scheduled deployment anytime under the Activation tab > Sent.
- You can review any import history under Recipients > List history.
What should I know about a paused automated campaign?
When the campaign is paused:
- Emails will not send for the campaign.
- You can click on the Recipients step and re-assign your list by clicking Change list settings.
- You can click on the Email step and assign a new email by clicking start over next to the email name.
- You can click on the Settings step and update the subject line and other options.
- To reactivate the automated campaign go back to the Activation step and update your Start Date and Time settings then click Activate to resume sending. Note that the time setting will adjust by five minutes to set the time in the future, but this can be adjusted.
How long should automated campaigns run before ending it?
We recommend starting a new automated campaign each year. This ensures WordFly continues to run efficiently with your list imports and also gives you the opportunity to review data year-over-year as automated campaign reporting data is cumulative as one campaign.