Start in Tessitura: Create your List Manager list
If your organization uses Tessitura, follow these steps to set up your List Manager list before you import it into WordFly.
- Create your List Manager list in Tessitura
- Check that you have an Appeal available to the WordFly Control Group
- Ensure that your Output Set has only one row per subscriber
In WordFly: Import your List Manager list
The steps below show how to import your List Manager list outside an email campaign under Subscribers > Lists. After your list is imported, you can use it in an email campaign. To import your list on the Subscribers tab inside Email > Email Campaigns, see steps 3–10.
1. Go to Subscribers > Email Lists
2. Select Create an email list

3. Select Import from Tessitura

4. Select Run a List Manager list

5. Name your list and click Continue
6. Select your List Manager list from the available list IDs

Not seeing your list? Double-check that the list is in Tessitura. Click "Refresh Data" to pull the latest changes in Tessitura.
![]()
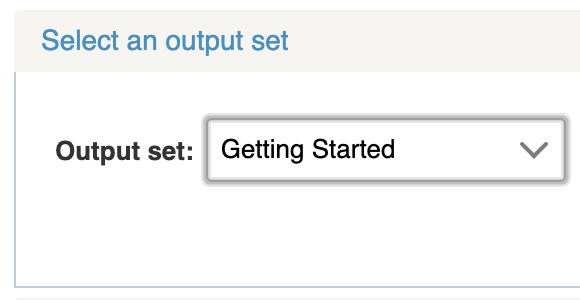
7. Next, select an output set
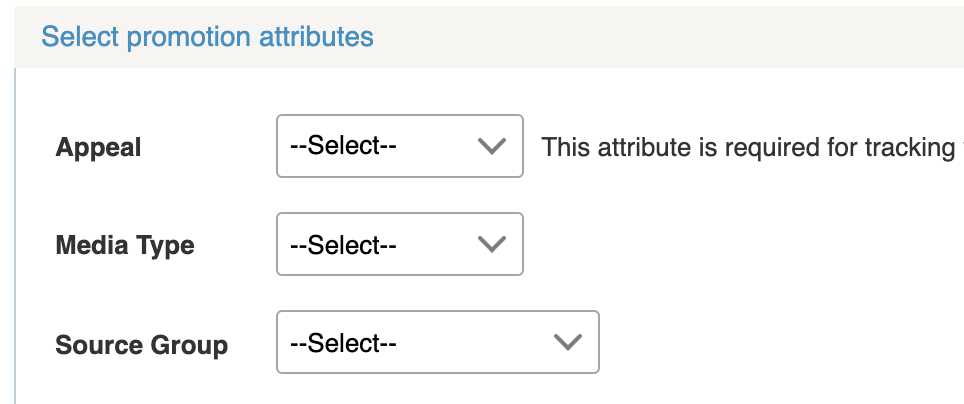
8. Next, select promotion attributes
Selecting an Appeal will create promotion records in Tessitura. We highly recommend this step. This option is required to send data back to Tessitura.
9. Next, map your list fields to corresponding data fields in WordFly
This step tells WordFly what data to import into your data fields. It is also needed for emails using personalization. To map fields, select “Change” on the right. In the WordFly Fields column, select the data field that corresponds to the data in the Your Fields column.
- For email responses go back to Tessitura for this list, be sure to map Customer Number, Source Number, and Download Number.
- The WordFly Email field must be mapped before you’ll be able to continue.
- The next time you import a list, WordFly will automatically map as many fields as possible based on the last time you imported a list with similar fields.

10. Click Start Importing

If you’ve followed these steps exactly and are coming across an issue with the file import, please review how to enable Tessitura logging.